


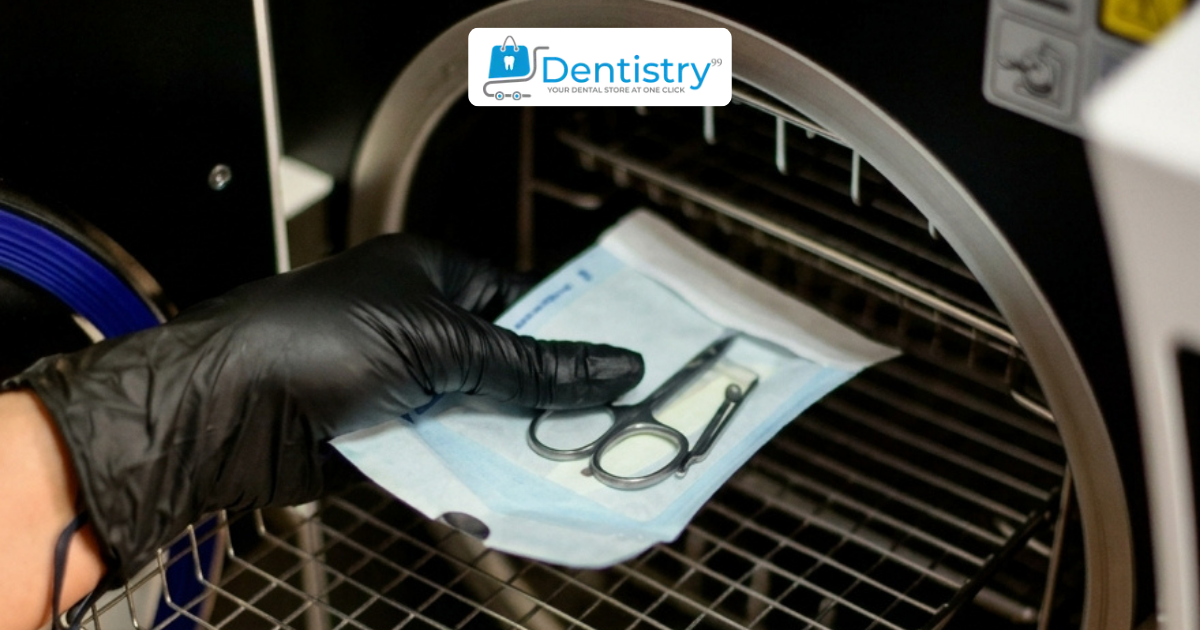
Most practices treat the autoclave as a box you load, run and forget about. Sterilize the instruments, move on with the day. But at Dentistry99, when a clinic reaches out asking why their forceps are pitting or a scaler tip lost its edge in half the time it should have, the autoclave is almost always where the answer turns up.
It makes sense once you think about it. Every cycle is 15 to 30 minutes of heat, pressure and steam, run on the same instruments hundreds of times a year. Necessary, yes. Gentle, not really. The right autoclave settings protect both your patients and the tools sitting in your trays. Get them wrong, even slightly and you'll see it eventually: stiff hinges, dull edges, steel that spots long before it should. Here's what's actually happening inside that chamber and how to keep it from working against you.
How Does Autoclaving Affect Dental Surgical Instruments?
Picture what a dental surgical instrument goes through on a normal Tuesday. It gets used, rinsed, cleaned, then blasted with pressurized steam at over 250°F, cooled and put back in rotation. Do that a few hundred times a year and you start to understand why instruments age faster in a busy practice than they would just sitting in a drawer. Stainless steel handles this well, but only when the cycle is run right. When it's not, you lose the protective layer on the metal a little at a time and that's when corrosion gets its foothold. Your daily workhorses, the scalers, the forceps, the elevators, tend to show it first. They simply go through more cycles than anything else on your tray.
How Do Autoclave Settings Affect Instrument Lifespan?
Four things do most of the damage when they're set wrong: temperature, time, pressure and moisture. None of them work in isolation either. Push one too far and it throws the others off balance.
Autoclave Temperature for Dental Instruments
Most practices run either 121°C or 134°C and honestly, a lot of technicians just default to whichever setting feels "safer" without thinking much about it. That's a mistake. The lower temperature is gentler on hinges, coatings and plastic components, it just takes longer. 134°C gets the job done fast but adds real thermal stress with every run. If your instrument manufacturer specifies a temperature, use it. Don't override it just because higher feels more thorough.
Autoclave Exposure Time and Over-Sterilization Risks
Here's something that surprises a lot of people: once an instrument is sterile, more time in the chamber isn't extra insurance. It's just extra wear. Over-sterilization doesn't show up after one cycle. You won't notice anything different on Monday. But run instruments a few minutes longer than needed, cycle after cycle for a year and eventually the hinges tell on you.
Steam Pressure and Sterilization Conditions
Pressure is what lets steam reach sterilizing temperatures quickly. Fine in theory. In practice, an aging or poorly maintained unit can deliver pressure unevenly, which means some instruments in a full load get hit harder than others. If your autoclave is older or hasn't been serviced recently, this is worth checking before you assume your instruments are the problem.
Drying Time and Residual Moisture
This is the step everyone rushes. You're busy, the cycle finishes and it's tempting to pull instruments while they're still slightly damp and get them into storage. Don't. That trapped moisture is basically an invitation for rust. Give the drying phase its full time, or leave instruments out a few extra minutes to air dry before they go anywhere near a drawer.
Steam Quality and Water Quality
Tap water seems harmless enough until you realize what's in it. Minerals build up on instruments and inside your chamber, cycle after cycle and that buildup interferes with clean, consistent steam. Distilled or deionized water costs a little more up front. For a practice running multiple cycles a day, it pays for itself pretty quickly in instrument life alone.
How Autoclave Type and Cycle Selection Affect Instrument Lifespan
Not all autoclaves are built the same and not all cycles on the same machine treat instruments equally. Gravity displacement and pre-vacuum (Class B) sterilizers reach sterility through different mechanics entirely. We still see practices default to whatever cycle is fastest or most familiar, running an unwrapped flash cycle when a full wrapped cycle was actually called for. It seems harmless in the moment. Multiply it by a year of cycles and it adds up to real, measurable wear.
What Happens When Dental Instruments Are Autoclaved Incorrectly?
The damage doesn't announce itself. It shows up gradually, in a handful of predictable ways.
Corrosion and Rust
Usually it starts small. A pit here, a spot there, easy to miss until it's not. Trapped moisture and lower quality water are almost always behind it.
Discoloration and Water Spots
That gray or bluish tint on steel? Mineral deposits, usually, or a reaction with leftover cleaning solution. It's not always a red flag on its own, but it's worth paying attention to before it turns into something worse.
Dull or Damaged Cutting Edges
Heat softens fine edges faster than you'd expect. A scaler or curette that's been through hundreds of over-hot cycles will lose its edge well before one used with proper settings.
Joint and Hinge Problems
Forceps, scissors, needle holders, anything with a hinge lives or dies by how smoothly it moves. Combine heat stress with a missed lubrication step and you'll feel the difference within a few dozen cycles.
Premature Instrument Wear
Put it all together and you get instruments wearing out well before their time, not because they were cheap or poorly made, but because the sterilization process wasn't set up to protect them.
What Are the Correct Autoclave Settings for Dental Instruments?
There isn't one magic number here. It genuinely depends on the instrument, the material and the machine you're running.
Follow the Autoclave Manufacturer's Instructions
Your sterilizer's manual has validated settings for a reason. Guessing, even with good intentions, is a gamble on both sterility and instrument condition.
Follow Dental Instrument Manufacturer's Guidelines
Plastic components, coatings, delicate tips, these often need their own settings that don't match your default cycle. Check before you assume.
Choose the Appropriate Sterilization Cycle
Wrapped versus unwrapped, gravity versus pre-vacuum, match the cycle to what's actually in the chamber instead of running everything the same way out of habit.
Avoid Overloading the Autoclave
An overstuffed chamber blocks steam from circulating properly. Instruments buried in the middle of a packed load might not even reach full sterilizing temperature and the crowding alone can cause scratching.
Allow Instruments to Dry Properly
Worth repeating: don't skip this. A few extra minutes here saves you from corrosion later.
How Should Dental Surgical Instruments Be Prepared Before Autoclaving?
An autoclave sterilizes. It doesn't clean. That distinction matters more than people realize.
Clean Instruments Before Sterilization
Any debris left on the surface can physically block steam from reaching bacteria underneath it, which defeats the entire point of the cycle.
Remove Blood and Organic Debris
The longer blood or tissue sits, the harder it gets to remove and the more likely it bakes onto the instrument during sterilization. Rinse promptly, not at the end of your shift.
Open Hinged and Jointed Instruments
Forceps and scissors should go in open, not closed. Steam needs to reach every surface of that joint, not just the outside of it.
Lubricate Instruments When Required
An autoclavable, instrument-grade lubricant before sterilization keeps hinges moving freely. Skip the oil-based products though, they can interfere with the cycle itself.
Package Instruments Correctly
Pouches, cassettes, wrapped trays, each one has its place depending on how quickly the instrument will be used again and how it's stored in between.
Common Autoclave Mistakes That Shorten Instrument Lifespan
Most of the wear we see traces back to a handful of habits that build up over years of busy practice, not one dramatic error.
Using the Wrong Sterilization Cycle
Sticking with one familiar cycle for everything, regardless of what's actually going in.
Overloading the Sterilizer
Trying to squeeze more into one run to save time. It rarely actually saves time in the long run.
Using Poor-Quality or Incorrect Water
Tap water, run cycle after cycle, slowly damages both your instruments and your machine.
Skipping the Cleaning Process
Sterilizing instruments that weren't properly cleaned first. This is more common than most practices would admit.
Storing Instruments While They Are Still Wet
One of the easiest habits to break and one of the biggest causes of rust we see.
Ignoring Early Corrosion or Instrument Damage
A tiny spot or a slightly stiff hinge is not a cosmetic issue. It's a warning. It gets worse from here, not better, if it's left alone.
How to Maintain Dental Surgical Instruments After Autoclaving
What happens right after the cycle ends matters almost as much as the cycle itself.
Inspect Instruments After Each Sterilization Cycle
A thirty-second look catches problems while they're still small and easy to deal with.
Check Hinges, Joints and Working Edges
Movement should feel smooth. Cutting and gripping surfaces should look sharp and true. If either feels off, don't ignore it.
Remove Water Spots and Residue
A soft cloth handles most of it. Anything that doesn't wipe off easily is worth a second look.
Lubricate Hinged Instruments When Needed
Make it part of routine maintenance, not something you only think about once a hinge is already stiff.
Store Sterilized Instruments Properly
Dry, separated, protected. Cassettes and dividers beat instruments piled loosely together every time.
How Often Can Dental Instruments Be Autoclaved?
Honestly, there's no clean answer here and anyone who gives you an exact cycle count is oversimplifying it. It comes down to the quality of the steel, how consistently correct settings were used and how well the instrument was maintained along the way. High-grade stainless steel, properly cared for, can handle hundreds of cycles without issue. Lower-grade steel, or instruments that were autoclaved incorrectly even occasionally, will show their age much sooner. This is exactly why regular inspection matters more than chasing a specific number.
How to Prevent Dental Instruments From Rusting in an Autoclave
A few consistent habits do most of the work here. Nothing exotic.
Use Appropriate Water
Distilled or deionized water cuts down on the mineral buildup that leads to corrosion over time.
Clean and Dry Instruments Properly
Care on both ends of the process, before sterilization and after, is what actually keeps rust away.
Avoid Excessive Exposure to Moisture
Don't leave sterilized instruments sitting in a humid environment. Get them to dry, protected storage as soon as the cycle finishes.
Inspect Instruments Regularly
Catch corrosion at the "wipe it off" stage, not the "order a replacement" stage.
Signs That a Dental Surgical Instrument Should Be Replaced
Even the best care has an endpoint. Every instrument reaches it eventually.
Visible Rust, Corrosion or Pitting
Once the surface is actually pitted, that damage is permanent. No amount of polishing brings it back.
Damaged or Dull Working Ends
An instrument that can't do its job precisely anymore isn't a maintenance issue. It's a patient safety one.
Loose or Misaligned Joints
If a hinge has lost that tight, controlled feel, the instrument's function is compromised, full stop.
Cracks or Surface Damage
Any crack, no matter how small, means that instrument comes out of rotation immediately.
Poor Instrument Performance
Sometimes there's no obvious damage at all. It just doesn't feel right anymore. If that's happening more often across your tray setups, it's worth reading our guide on when to retire a dental instrument to get a clearer sense of where that line actually is.
Dental Instrument Autoclave Checklist
Pre-clean instruments and remove all visible debris before loading
Open hinged instruments fully before sterilization
Use the correct cycle (temperature, time, wrapped or unwrapped) for each instrument type
Avoid overloading the chamber, leave room for steam to circulate
Use distilled or deionized water in the sterilizer
Run a complete drying cycle before storage
Inspect every instrument after each cycle
Lubricate hinges with instrument-grade, autoclavable lubricant
Store instruments dry, separated and protected from contact
Frequently Asked Questions About Autoclaving Dental Instruments
What Temperature Is Used to Sterilize Dental Instruments?
Most dental autoclaves run at either 121°C or 134°C, depending on the cycle and the instrument going through it.
How Long Should Dental Instruments Be Autoclaved?
It varies, but you're usually looking at 15 to 30 minutes at 121°C, or just a few minutes at 134°C in a pre-vacuum cycle. Always defer to your specific autoclave's validated settings over general rules of thumb.
Does Autoclaving Damage Dental Instruments?
Not inherently, no. The damage comes from incorrect settings, poor water quality, or skipping the drying step, not from sterilization itself.
Can Dental Instruments Be Autoclaved Repeatedly?
Yes, quality instruments are built for it. How many cycles they'll actually handle depends on the steel quality and how consistently settings and maintenance are followed.
Why Do Dental Instruments Rust in an Autoclave?
Almost always trapped moisture, poor water quality, or instruments getting stored while they're still damp.
How Can You Prevent Corrosion During Autoclave Sterilization?
Use distilled or deionized water, don't overload the chamber, run a full drying cycle and check instruments regularly for early signs of trouble.
Should Dental Instruments Be Dry Before Storage?
Yes, always. Storing damp instruments is one of the most common causes of corrosion we see and one of the easiest to prevent.
Conclusion
Autoclave settings aren't a background detail. They're one of the biggest factors in whether your instruments last two years or ten. Get temperature, time, pressure and drying right and you're protecting both your patients and the investment sitting in your instrument trays. And when an instrument does finally show real wear despite doing everything right, knowing when to retire it rather than squeezing out one more cycle keeps every procedure precise, safe and running the way your practice needs it to.
Dentistry99 Store
Need supplies for your practice?
Shop trusted brands with free standard shipping on qualifying orders.


